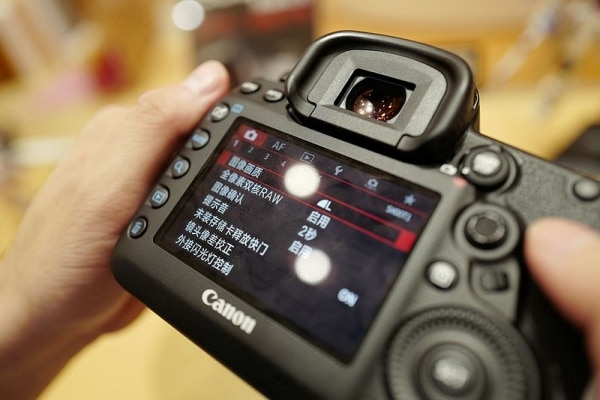
With the proliferation of digital cameras, especially professional ones, the Raw photos are becoming more common. The RAW photo has unparalleled advantages over other photos. If a lot of raw images are taken but lost. In fact, it will be a very frustrating thing. I’ll introduce to you what is the RAW photos, and then, guide you to use iFinD Data Recovery to restore the lost RAW photos.
Part 1: The concept and classification of hard drive:

RAW Photo’s Advantages
1: RAW files are almost unprocessed, in fact, receive information directly from CCD or CMOS. through post-processing, the photographer can maximize his artistic talent.
2:The RAW files do not have a white balance setting, The real data has not been changed, and then, the author can adjust the color temperature and white balance arbitrarily, and there is no loss of image quality.
3:Although the raw file is attached with mark information such as saturation and contrast, the actual image data does not change. The user is free to personally adjust a picture without having to base on one or two pre-set modes.
Perhaps the biggest advantage of raw is that it can be converted into a 16-bit image. That is, there are 65,536 levels that can be adjusted, which is a big advantage for JPG files. In fact, this is very important when editing an image, especially if you need to make important adjustments to the shadow or highlight areas.
Raw Photo’s Disadvantages
1:Compared to JPG, the same photo, the size of the photo is often 5-10 times that of JPG, which is not conducive to network transmission.
2:Reading and editing require the special software.
3:Because of its huge size, the camera’s continuous shooting speed, photo saving speed, and preview speed are slower than JPG.
Part 2:RAW Filename Extensions and Respective Camera Manufacturers
.3fr( Hasselblad)
.ari( Arri_Alexa)
.arw .srf .sr2( SONY)
.bay( CASIO )
.crw .cr2( Canon )
.cap .iiq .eip( Phase One )
.dcs .dcr .drf .k25 .kdc( Kodak )
.dng( Adobe) )
.erf( Epson )
.fff( Imacon)
.mef( Mamiya)
.mos( Leaf )
.mrw( Konica Minolta )
.nef.nrw( Nikon )
.orf( Olympus )
.pef .ptx( Pentax )
.pxn( Logitech )
.r3d( RED Digital Cinema )
.raf( Fuji )
.raw .rw2( Panasonic )
.raw.rwl.dng( Leica)
.rwz( Rawzor)
.srw( Samsung )
.x3f( Sigma)
Part 3:Step to Recover RAW Files
1: Download the iFinD data recovery software and installed.
2: Run the software and select the first button, “Lost File Recovery”

3: Select the partition which you want to recover the RAW Photos.

4: Scanning.

5: End the scan. you can find the RAW Photos which you want to recover. Please click the “Recover” button.

Through the above article, we know what is raw photo and how to restore the lost raw photo. however, the most important thing is to develop good usage habits before losing. Above all, you can minimize the risk of losing data.

Andy is an editor of the iFinD Team. She worked in this big family since her graduation. Her articles mainly focus on data backup and recovery, disk cloning, and file syncing, committed to resolving the data loss issues users may encounter on their PCs. Besides, more related computer articles are shared here.

